
16x Ultra
Resolution
Upscale portraits and patterns to industrial print sizes (300 DPI) with 100% fidelity and zero pixelation.
16x Ultra Çözünürlük
Sapphire Eco Pipeline (Dual-Core ESRGAN) ile görsellerinizi detay kaybı olmadan 16x çözünürlüğe büyütün. Endüstriyel tekstil baskısı için optimize edilmiştir.
Tekstil Desen (16x)
Karmaşık tekstil dokularında piksel yerine iplik fiziğini geri kazanın.
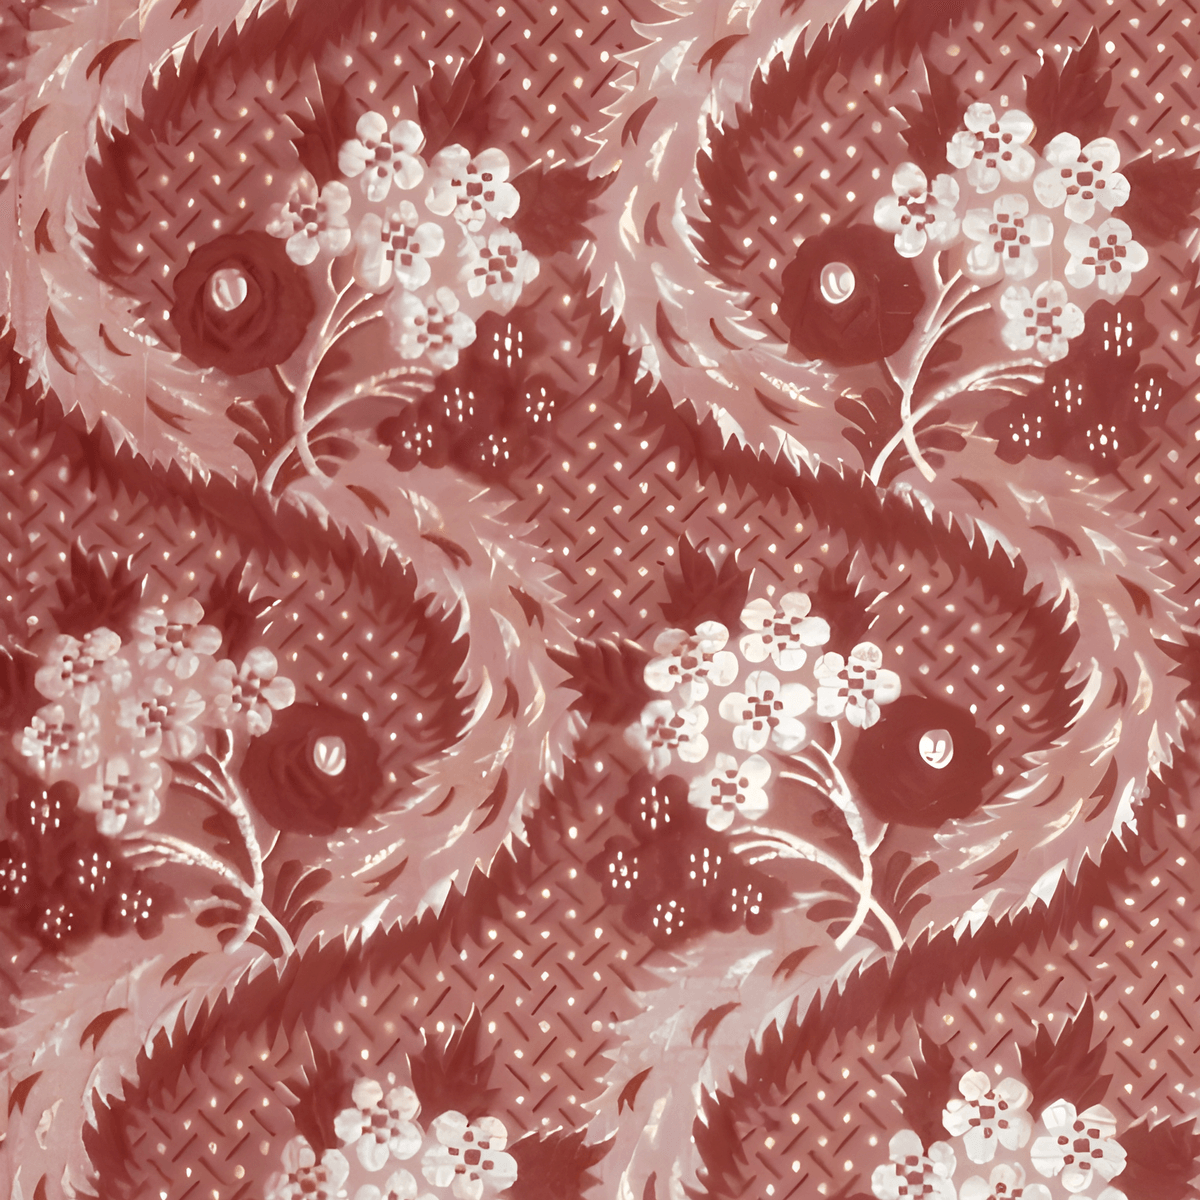
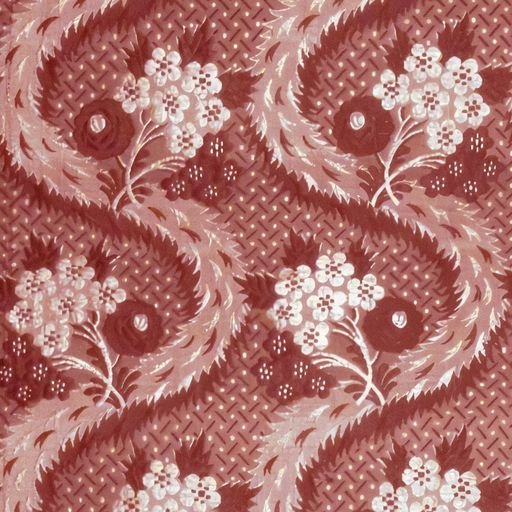
Sapphire Neural Core | Tekstil Sentez Motoru | Son Kanıt: Hizalandı
Technical Specifications
No hidden layers. Just raw neural power optimized for textile physics.
Input Standardization
Converts any input format to optimized PNG, applies EXIF orientation, preserves ICC profiles for accurate textile color reproduction.
Phase 1: Structure Recovery
First neural pass reconstructs the base texture geometry. Erases artifacts and establishes the 4x foundation with perfect edge detection.
Phase 2: Detail Synthesis
Secondary specialized pass multiplies resolution again by 4x. Hallucinates realistic textile weave details to reach the final 16x industrial scale.
Industrial Resolution Matrix
Print Quality Restoration
Our model doesn't just smooth pixels; it understands textile physics (weave, knit, thread) to restore physical integrity.
Engine Constraints
- Max Upload100 MB
- Total Output16x
- Target300 DPI
- FormatsJPG, PNG, TIFF
Fabric weight prep before upscaling to print size
- Lock weight in the tech pack and cost sheet
Convert oz/yd² quotes to g/m² in this tool and paste into the GSM field on the Fabric Cost Calculator. Roll-weight estimates and landed cost should sit on the same PO line — wrong weight skews ink load in the RIP.
- Match GSM to print dimensions and ink load
Heavier GSM (≥220 g/m²) means more ink mass for the same repeat area. After upscaling, validate roll weight estimates against your RIP print width × length — lighter fabrics print fine lines more cleanly; heavier fabrics need wider repeats.
- Upscale to print size after cost is clear
Once landed cost and waste % are locked, run the same patterns through Upscale Studio to 300+ DPI at final print size. Sample approval should precede PO signature — read the Upscale quality guide for the SSIM ≥ 0.85 threshold.
Marker yield prep before upscaling to print size
- Lock marker yield in the tech pack
Paste yield %, pieces/m and linear meters from this tool into cut approval. Copy meters into purchasing notes — it clarifies panel count and orientation before upscaling panel art.
- Match panel size to target print DPI
Align piece width × length to RIP print dimensions. After upscaling, validate px resolution with the Panel Pixel Planner — max output side is 16,384 px.
- Move approved panel art into Upscale Studio
After validating marker yield and waste %, run the same panel designs through Upscale Studio to 300+ DPI at final print size. Sample approval should precede PO signature — read the Upscale quality guide for the SSIM ≥ 0.85 threshold.
Palette lock-in prep before upscaling to print size
- Lock HEX/RGB/HSL lines on the tech pack
Paste approved HEX, RGB and HSL lines from this tool into sample approval notes. The palette must be fixed before upscaling — sRGB screen color is not Pantone/CMYK.
- Match contrast to RIP channels after upscaling
16x upscale can shift fine-line weight and spot-color density. After upscaling, validate the same HEX line on dark vs light grounds — read the Upscale quality guide for the SSIM ≥ 0.85 threshold.
- Move approved panel art into Upscale Studio
After palette sign-off, run the same patterns through Upscale Studio to 300+ DPI at final print size. Sample approval should precede PO signature — audit upscale credits/cost on Account History.
Repeat lock-in prep before upscaling to print size
- Lock cm/inch repeat on the tech pack
Paste approved repeat width × height from this tool into the tech pack. cm ↔ inch conversion and tile counts on the panel must be fixed before PO signature — wrong rapport misaligns seams after upscaling.
- Calculate print pixels at target DPI
Save the width × height px line from this tool before upscaling. The 16x pipeline caps at 16K px output — validate 300+ DPI at final print size before upscaling low-source drafts.
- Move tile-safe art into Upscale Studio
Seamless rapport files upscale best with tile-safe mode. Max output side is 16,384 px — read the Upscale quality guide for the SSIM ≥ 0.85 threshold; audit upscale credits/cost on Account History.
Upscale prep after panel pixel target is locked
- Lock required px and upscale factor on the tech pack
Paste the width × height px, megapixel and upscale factor lines from this tool into sample approval notes. When source file dimensions are below target px, upscaling is required — validate when the factor is above 1× before PO signature.
- Compare source pixels vs target DPI line
Save source width × height alongside the required px line before upscaling. The 16x pipeline caps at 16K px output — validate 300+ DPI at final print size before upscaling low-source drafts.
- Move approved panel art into Upscale Studio
Scarf/shawl panel files upscale best with tile-safe mode. Max output side is 16,384 px — read the Upscale quality guide for the SSIM ≥ 0.85 threshold; audit upscale credits/cost on Account History.
Upscale prep after yarn count is locked
- Lock Ne/Nm/Tex line on the tech pack
Paste the PO / chat line from this tool into sample approval notes. Plied yarn (20/2 Ne) and filament Denier/dtex values should stay on the same PO — wrong yarn count skews repeat density and print resolution estimates.
- Match yarn count to source pixels and repeat density
Finer yarn (higher Ne/Nm) needs tighter repeats; knit patterns with filament Denier/dtex may require upscaling when source px is low. Save source width × height alongside your 300+ DPI target line before upscaling.
- Move approved pattern art into Upscale Studio
After the yarn ticket is clear before PO signature, run the same knit/digital print designs through Upscale Studio to 300+ DPI at final print size. Max output side is 16,384 px — read the Upscale quality guide for the SSIM ≥ 0.85 threshold; audit upscale credits/cost on Account History.
Upscale prep after stitch and cone estimates are locked
- Lock stitch totals and cone qty on the tech pack
Paste total stitches, meters/yards and cone estimates from this tool into the PO line. Do not bulk-order cones until color-channel multiplier and waste % are clear — wrong consumption skews motif size estimates before upscaling.
- Match embroidery density to source pixel resolution
Heavy satin fill or high-SPI seam lines need more source px. Save digitized motif width × height alongside your 300+ DPI target line before upscaling.
- Move approved embroidery art into Upscale Studio
After cone estimates are clear before PO signature, run the same embroidery/digital print designs through Upscale Studio to 300+ DPI at final print size. Max output side is 16,384 px — read the Upscale quality guide for the SSIM ≥ 0.85 threshold; audit upscale credits/cost on Account History.
DPI / pixel prep before upscaling
- Measure effective DPI at print size
Use Pixels → DPI mode with your finished print width × length. If below 300 DPI, plan upscale or re-export — do not send low-res files to RIP.
- Lock target pixel dimensions
Print size → pixels mode gives required width × height at 300 DPI. Note how far your source file is from that target before uploading to Upscale Studio.
- Verify tiles and edges after upscale
The 16x pipeline caps at 16,384 px output. Check upscale output with Seamless Checker; read the Upscale quality guide for the SSIM ≥ 0.85 threshold.
Shrinkage / cut prep before upscaling
- Plan upscale at finished size
Size upscale target pixels from post-wash finished width × length — not greige cut. This tool’s “cut for target” mode clarifies greige → finished mapping before you upscale.
- Lock axis shrink % in the tech pack
Record length and width shrink separately; area shrink combines axes — do not add percents. RIP repeat and panel dimensions should follow finished measurements.
- Verify tile edges after upscale
Uneven axis shrink can misalign rapport. Check upscale output with Seamless Checker; max output side is 16,384 px — read the Upscale quality guide for the SSIM ≥ 0.85 threshold.